Jun 15, 2025
Mold Removal from Shower Silicone
In Cleaning
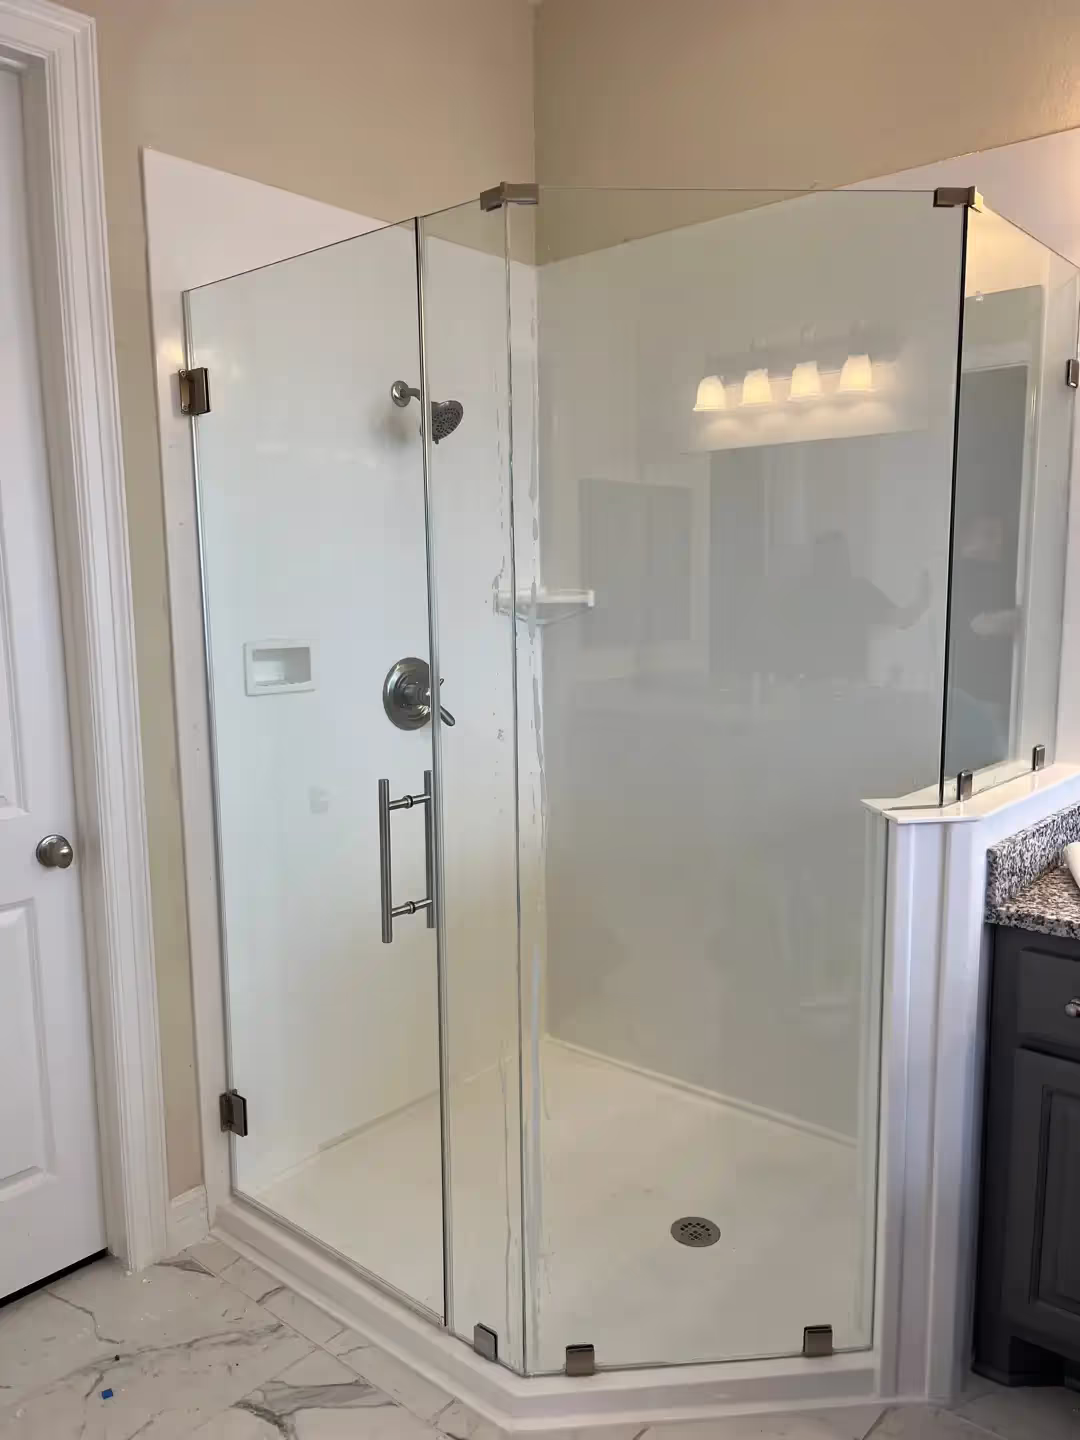
Areas like showers, sinks, and tubs need a continuous, waterproof seal around edges to keep moisture out of walls and floors. That flexible bead your remodeler runs where the pan meets the wall and around fixtures is silicone—and it’s critical for a long-lasting bathroom. If you want a partner who treats both design and behind-the-tile details with equal care, start with a trusted local bathroom remodeling company in Houston.
Even in newer bathrooms, you may eventually notice flecks of mold on silicone. It’s common—and fixable. Use this guide to identify and remove mold safely, and to keep the waterproof integrity of your shower intact all year.
What Is Silicone?
Silicone sealant is a waterproof adhesive/sealant used to bond and seal wet-area joints. You might hear it called:
- Silicone glue
- Mastic
- Caulk
- Silicone adhesive / gel
- Sealant
How Is Silicone Applied to My Bathroom Remodel?
Silicone comes in cartridges or tubes and is applied in a continuous bead, then tooled smooth. It dispenses like a gel and cures to a flexible rubber—typically in about 24 hours (keep it dry until then).
How Is Silicone Made?
Silicone (the polymer) is produced from silicon, oxygen, carbon, and hydrogen. Its elasticity and flexibility make it ideal for multi-plane joints (e.g., wall-to-floor corners) where rigid fillers like grout crack.
Other Common Uses
- Sealing around windows/doors and kitchen splash zones
- Plumbing penetrations and fixtures
- Appliance gaskets (fridge/freezer), cooktop seams
- Specialized electrical moisture protection (with appropriate products)
What Is Mold—and Why Bathrooms?
Mold is a fungus that thrives in warm, damp, low-airflow spaces with a food source (soap residue, skin cells, dust). Bathrooms provide the perfect environment—especially on silicone and in corners where water lingers.
Is Mold Bad for You?
Low exposure is common, but ongoing indoor growth can aggravate allergies and asthma, especially for sensitive groups (infants, elderly, immunocompromised). The fix: ventilation + routine cleaning.
How Does Mold Reach Shower Silicone?
Silicone and most shower surfaces are non-porous, but soaps/shampoos can leave a sticky film (a food source). Add steam and poor ventilation, and spores bloom—often at corners, base edges, drains, and behind bottles.
Silicone vs. Grout — Where Each Belongs
How to Clean Mold on Silicone (Shower Base/Perimeter)
Option A — Bleach Spray (quick for white/neutral silicone)
- Wear gloves. Mix 1:1 bleach + water in a spray bottle (never mix with other cleaners).
- Spray affected silicone; dwell ~30 minutes.
- Rinse thoroughly; wipe dry. Repeat weekly until gone, then monthly for prevention.
Option B — Bleach Paste (vertical joints)
- Mix bleach with baking soda to a spreadable paste.
- Brush onto the silicone; cover with plastic wrap so it stays put.
- Dwell ~2 hours. Remove wrap, rinse well, wipe dry.
Non-bleach alternative: Hydrogen peroxide (3%) works slowly—soak cotton pads, keep the area wet 30–60 minutes, then rinse. Do not combine peroxide with vinegar.
How to Clean Mold on Silicone Between Tiles
Use the bleach paste method above so product clings to vertical seams (cover with plastic wrap, dwell, rinse).
How to Clean Mold on Drains or Walls
When the shower is dry, apply the spray or paste to the area, let sit ~30 minutes, then rinse and wipe. Repeat bi-weekly until gone, then monthly to prevent return.
Why Cleaning Bathroom Silicone Matters
Left unchecked, mold can irritate sensitive people and slowly degrade sealant—risking leaks and pricey repairs. Regular cleaning preserves health and waterproofing.
Benefits of Silicone in the Shower
- Temperature tolerant for hot/cold cycles
- Flexible—adapts to expansion/contraction
- Insulating—improves draft control at edges
- Adhesive & watertight—protects walls/floors
- Color options to match finishes
- Chemically stable—low reactivity
Why Mold Is So Common in Bathrooms
Warmth + water + low airflow + dust (skin cells) = ideal growth conditions. Target ventilation, drying, and routine cleaning to break the cycle.
How to Prevent Bathroom Mold
- Ventilate: Run the fan during showers and 20 minutes after (or crack a window).
- Dry surfaces: Squeegee glass/pan, wipe ledges and bottle bottoms.
- Fix slow drains and leaks so water doesn’t linger.
- Regular cleaning to remove soap film (mold’s “food”).
- Mold-resistant paints/caulks in high-humidity areas.
What Is Grout?
Grout (cement + sand + water) fills joints between tiles. Cement grout is porous unless sealed; epoxy grout is more water-resistant and common in showers. Grout is for single-plane joints only—never corners (use silicone there).
Why Is Silicone Better Than Grout (in Corners)?
Grout lacks flexibility and cracks at plane changes; even epoxy expands/contracts. Silicone flexes and remains watertight, making it the right choice for corners, edges, and penetrations.
How to Clean Mold Off Grout
Use 50:50 white vinegar + water (stone-safe cleaners for natural stone). Spray or apply as a paste, brief dwell, then rinse and dry. Avoid long-term bleach use on colored/cement grout (weakening/discoloration risk). Reseal cement grout as needed.
Simple Mold-Prevention Routine
- After each shower: Run fan; squeegee pan/glass; wipe bottle bottoms
- Weekly: Quick wipe of silicone/grout; drain flush if slow
- Monthly: Spot treat silicone/grout; check for gaps and re-caulk as needed
Safety: Never mix household chemicals. Vinegar + bleach creates toxic chlorine gas; vinegar + hydrogen peroxide forms corrosive peracetic acid. Rinse between products and ventilate.
Ready for a Low-Maintenance Upgrade?
If recurring mold is tied to grout failure, poor slope, or slow drains, consider a shower remodel using large solid-surface panels and properly sloped pans—fewer seams, faster cleaning, better drainage. Have questions? Book a free consultation.
FAQ: Silicone, Grout & Mold
Q: How long should silicone cure before using the shower?
A: About 24 hours (check the product label). Keep it dry for best adhesion.
Q: My silicone keeps staining. Replace or clean?
A: If stains persist after proper cleaning—or the bead is cracked/peeling—cut it out and re-caulk with bathroom-rated, mildew-resistant silicone.
Q: Can I use bleach on grout?
A: Bleach can weaken/discolor cement grout. Use diluted vinegar (not on natural stone) or a grout-safe cleaner; reseal cement grout as needed.
Q: Is vinegar safe everywhere?
A: No. Avoid vinegar on natural stone (marble, limestone, travertine) and certain metal finishes; use stone-safe or manufacturer-approved cleaners.