May 30, 2025
Before & After Bathroom Remodels: Small Touches That Add Big Luxury
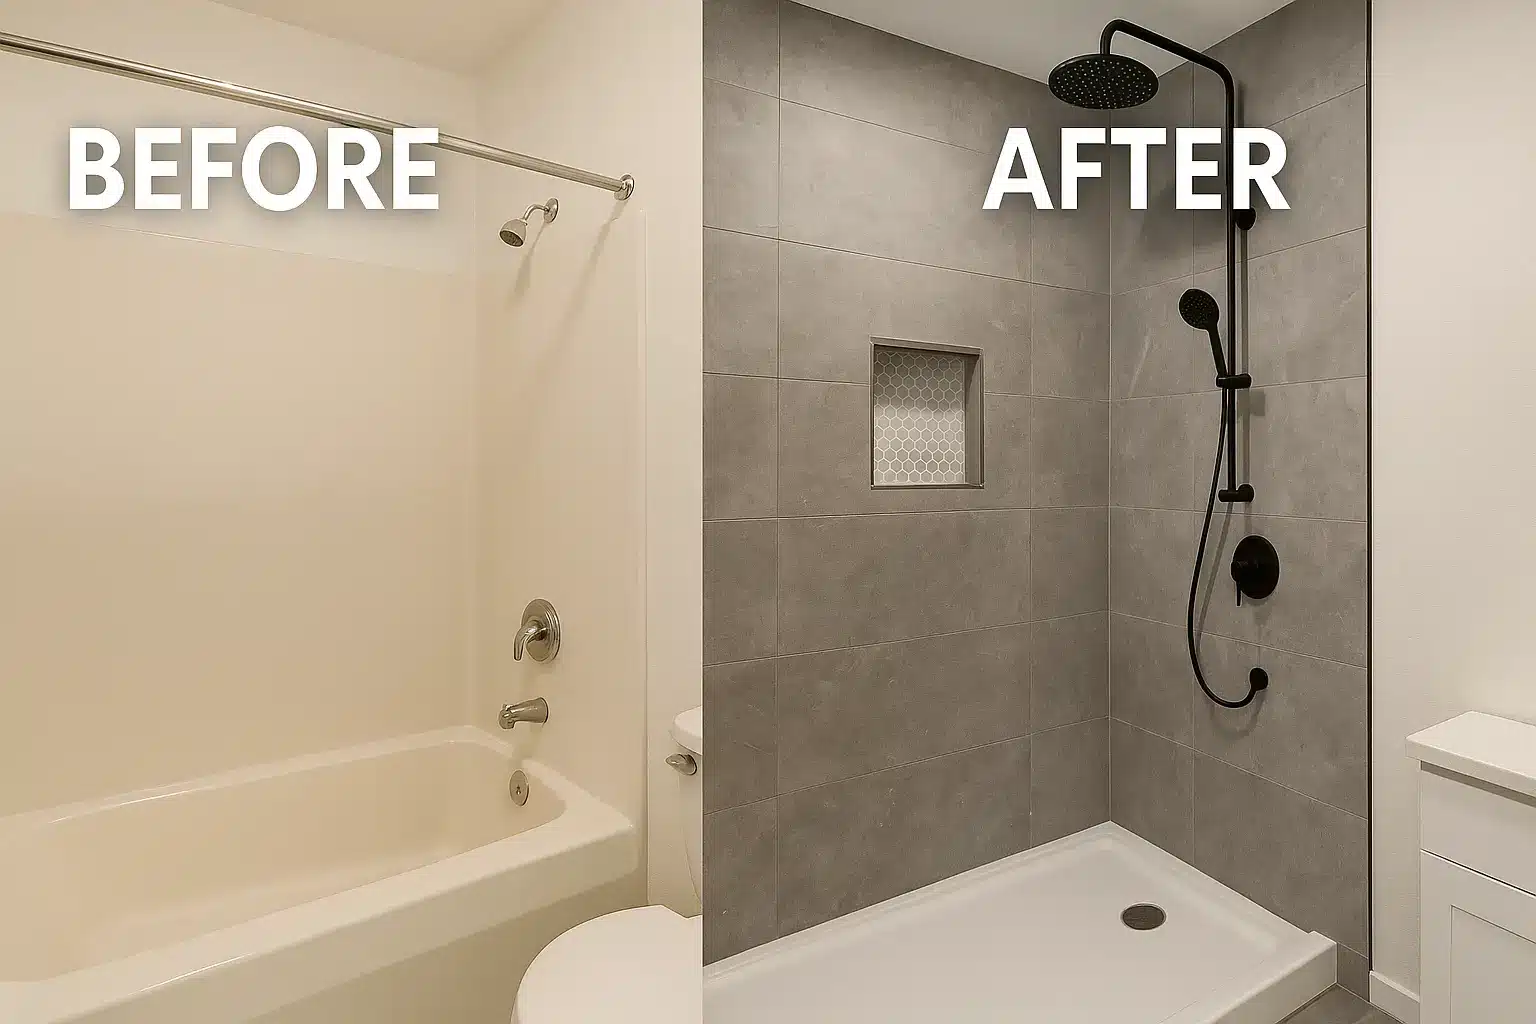
There’s nothing more satisfying than a great before-and-after bathroom remodel. If you’re dreaming of the moment when your “before” becomes an “after,” you’re in the right place. We bring plenty of ✨ to Houston bathroom remodeling—and we’ll show you how small, smart upgrades create big-time wow.
In a recent EZ Bath Podcast, the crew called out one detail that keeps stealing the show: the rain can showerhead. It’s a small change that makes a room feel custom—without blowing the budget.
“Show it again… and then this is the after. Beautiful. The rain can was a nice touch—always add a little bit of luxury.”
Why Before & After Photos Matter
Before-and-after comparisons aren’t just fun to look at—they help you plan confidently:
- See the potential: Visualize what your exact layout could become.
- Spot high-impact updates: Understand which “small” changes transform the whole space.
- Gauge craftsmanship: Tight tile lines, clean glass, sealed corners—details that last.
The Power of a Rain Showerhead
One of the easiest ways to add a spa vibe is with a rain can showerhead. Why it works:
- Gentle rainfall feel that instantly reads “luxury.”
- Even coverage for a relaxing rinse.
- Design win: Minimal profile with major visual impact.
- Better together: Pair with a handheld wand for cleaning and rinse control.
Small Luxury Touches That Make a Big Difference
- Frameless glass → Opens sightlines, feels modern.
- Built-in niches → Clutter-free storage with a designer look.
- Matte black or brushed gold fixtures → Instant style upgrade.
- ✨ Accent lighting → Under-cabinet or niche lighting = big ambience.
- Natural textures → Wood-look tile or stone finishes add warmth.
- Soft-close drawers → Everyday luxury you’ll notice at 6 a.m.
- Heated towel bar / anti-fog mirror → Boutique-hotel energy at home.
Choose Your Path to an “After”
Houston-Smart Upgrades (Local Pro Tips)
- Scan the slab: Post-tension foundations are common—scan before cutting or trenching.
- Use a 2″ shower drain: Better flow for modern heads (especially rain + handheld combos).
- Waterproof right: Membrane systems (think Schluter KERDI) with a documented flood test.
- Low/zero thresholds: Safer entry, cleaner look—ask about curbless options.
- Ventilation: Right-sized exhaust fans keep moisture and fog in check.
Timeline: From “Before” to “After”
Budgeting Without the Headache
Design Decisions You’ll Thank Yourself For
Bench & niche placement
Keep benches around 17–19″ high; place niches at your shoulder/arm height, not where bottles tip over.
Glass choices
Clear glass maximizes light; patterned adds privacy. Hinges and handles in finishes that match (or intentionally contrast) your fixtures.
Lighting layers
Overhead + vanity + accent = flattering and functional. Moisture-rated fixtures are a must.
Fixtures that last
Quality valves and trim today save headaches later. Consider pressure-balanced for reliability; add a diverter if you’re pairing rain and handheld.
Why Luxury Details Matter in Resale
- Stand out: Premium touches separate you from cookie-cutter flips.
- Value: Buyers love clean, functional, hotel-level bathrooms.
- Longevity: Thoughtful materials + correct waterproofing win every inspection.
Ready to See Your Own Before & After?
Whether it’s a simple refresh or a full re-think, we’ll help you maximize function, pick timeless design, and layer in the luxury details that make your bathroom stand out. Start with a free consultation and we’ll map the best path from “before” to “after.”